


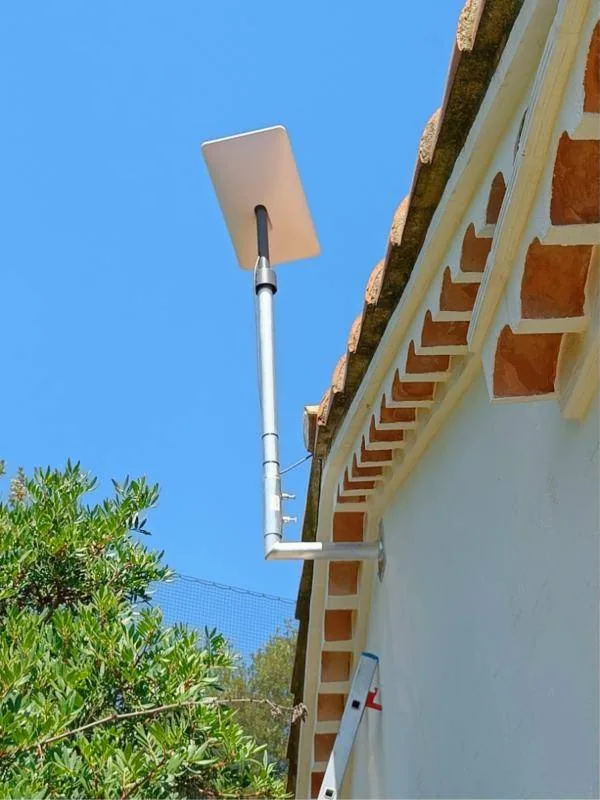
Starlink was designed so that users can set it up themselves. For a quick test in the garden, the box is enough. For a permanent installation on a roof that must withstand wind, rain and sun for years, you need the right materials and tools.
What the Starlink kit contains
- The dish (antenna), which talks to the satellites and is placed outdoors.
- The manufacturer's base, for mounting on a flat surface.
- The Wi-Fi router, which spreads the connection around the property.
- The cable that connects the dish to the router.
- The power supply and power cable.
The exact contents vary by model, for example Standard or Mini, and by equipment generation. Check the box as soon as it arrives and keep the packaging until the installation is complete.
Looking for a professional Starlink installation? We handle the site survey, mount, cabling and Wi-Fi anywhere in Greece.
What the technician brings
For a permanent and safe installation, the technician uses materials and tools that are not in the box. Most of them are about holding the dish firmly and protecting the cable.
- Mounts: wall mount, tiled roof mount, mast mount or metal flat-roof mount.
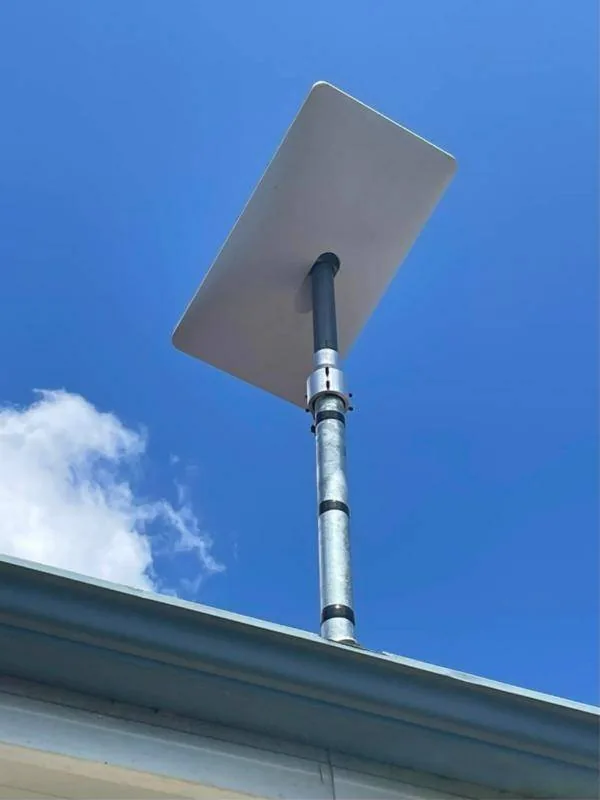
- A mast and brackets, when height is needed to clear obstructions.
- A drill, screwdrivers, spanners and wall plugs or screws suited to the wall or roof.
- A spirit level and a compass or phone app to check tilt and orientation.
- Trunking, spiral wrap or conduit to protect the cable, and sealant for wall entries.
- UV-resistant cable ties.
- Safety equipment for working at height.
In exposed spots, such as islands and the roofs of apartment blocks, choose a metal mount fixed to a wall or floor rather than a weighted base. A dish that moves loses signal and wears out faster.
The installation step by step
- Preparation: check the spot for a clear view of the sky with the obstruction tool in the Starlink app.
- Mounting: fit the mount and the dish, and check that everything is secure.
- Cabling: run the cable through trunking or conduit to the router, with no kinks.
- Connection: connect the dish, the router and the power supply.
- Activation: link to the Starlink account and set up Wi-Fi from the app.
- Testing: run speed tests and check the outage and obstruction statistics.
Equipment for the network indoors
The Starlink router covers a flat well enough. Large houses, multi-storey buildings or businesses usually need extra equipment. The choice depends on the size of the space and on what you want to connect.
- A Wi-Fi mesh system for even coverage in every room.
- Extra Ethernet ports or a switch for computers, cameras and the TV.
- A business router for load balancing and failover with a second line.
- A UPS so the connection stays up during short power cuts.
If you want to connect computers or cameras by cable, check before the installation whether your kit router has Ethernet ports or whether you need the Starlink Ethernet adapter.
Why professional installation is worth it
- Accuracy: the dish goes in the spot with the widest clear view.
- Durability: solid mounting and watertight cabling for years of operation.
- Safety: work at height with the right equipment.
- Time: the installation is completed in one visit, together with the network setup.
Power and equipment protection
Power is often forgotten. The dish is powered through the router or the power supply, so the socket must be in a dry indoor space. In areas with frequent power cuts or voltage swings, a UPS keeps the connection up and protects the equipment.
- A socket indoors, close to where the router will go.
- A surge-protected power strip or, better, a UPS.
- A watertight cable entry through the wall, sloping outwards so water does not get in.
- Following the manufacturer's instructions and current regulations on earthing outdoor equipment.
In places that run on solar panels and batteries, such as holiday homes or farm buildings, you must work out Starlink's power use in advance. That way the system does not drain the batteries on nights with little generation.
If something does not work
Most problems after installation come from obstructions, loose connectors or poor Wi-Fi coverage indoors. A technician finds them quickly. For account, subscription or faulty equipment issues, Starlink support is available through the app and your account on starlink.com. CyberSpace Dynamics offers installation packages from basic mounting to solutions with mesh, VPN and load balancing.