


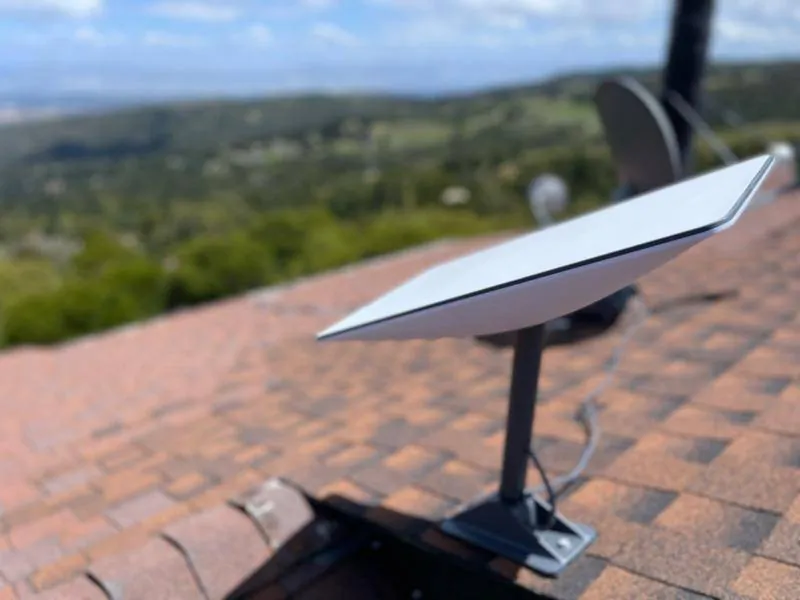
Installing Starlink is quick, but one thing decides almost everything: where the dish goes. The antenna is in constant contact with satellites moving across the sky. If something blocks part of the sky, the connection will have short drop-outs, even if the speed looks good in tests.
Why position matters so much
Unlike a satellite TV dish, which points steadily at one satellite, the Starlink dish "sees" a large section of the sky. Every tree, chimney or wall within that field of view can cut the signal for a few seconds. On a video call or a VoIP call, those seconds are noticeable.
Looking for a professional Starlink installation? We handle the site survey, mount, cabling and Wi-Fi anywhere in Greece.
The factors that affect placement
- A clear view of the sky: the most critical factor. The fewer the obstructions, the fewer the drop-outs.
- Tilt and orientation: the Starlink app guides you, but the starting position of the mount must allow for it.
- Height: a higher spot, such as a roof or mast, often clears trees and neighbouring buildings.
- Wind: in exposed spots, such as rooftops and islands, the mount must be very solid.
- Seasons: deciduous trees that cause no trouble in winter may block the sky in summer, and the other way round.
Use the obstruction check in the Starlink app from the exact spot you have in mind, holding your phone at the height where the dish will be. Ten minutes of checking saves a second installation.
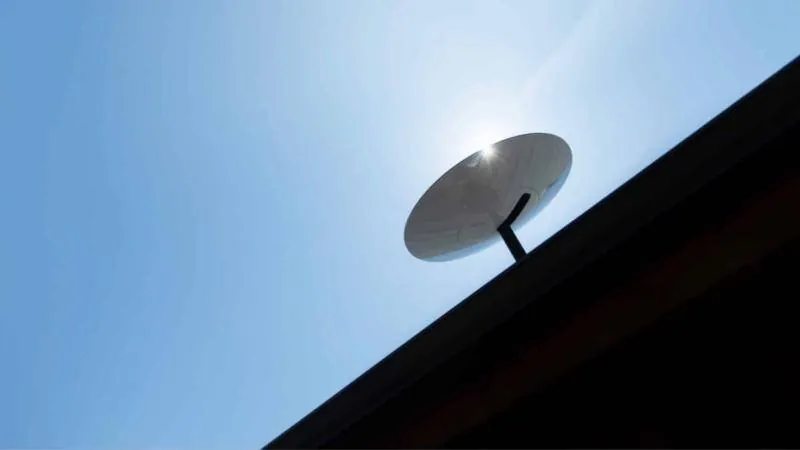
Placement step by step
- Choose the spot: find the position with the widest clear view, away from chimneys and walls that rise above it.
- Mounting: use a suitable mount for a pitched roof, wall, flat roof or mast. The base in the box is for temporary use or for flat, sheltered surfaces.
- Cabling: run the cable with no kinks, protected from the sun, and leave a small drip loop so water does not get into the connector.
- Connection: connect the dish to the router and power, and activate the connection from the app.
- Signal check: let the system run for a while and check the outage and obstruction statistics in the app.
Common mistakes
- Placing it behind the roof parapet, which blocks the sky low on the horizon.
- A mount that moves in the wind, causing drop-outs and wear on the equipment.
- A cable kinked in a window frame or crushed by a door.
- A router placed in a cupboard or basement, far from the rooms that need Wi-Fi.
The last one is among the most common. The satellite connection may be perfect, but if the Wi-Fi does not reach the rooms, the user sees "slow internet". In large houses or businesses, a Wi-Fi mesh system or wired access points solve the problem. Before you blame the satellite connection, run a speed test over a cable or right next to the router to see where the problem really is.
What you gain from correct placement
- A stable connection with no short drop-outs on calls and video calls.
- Better speeds, because the dish communicates without obstructions.
- Longer equipment life, with no vibration and no moisture in the connectors.
- Fewer visits to reposition the dish.
Check the obstruction statistics in the app again after a few months, especially if there are trees nearby. Plants grow, and a spot that was clear may no longer be.
Special cases
- Apartment block roof: agree with the building management and choose a spot away from antennas, solar water heaters and tanks that block the horizon.
- Tiled roof: use a roof mount or a wall mount on the gable, so no tiles break and no water gets in.
- Holiday home that stays closed: fix the dish firmly against winter winds and put the router somewhere protected from damp.
- Property with many trees: a mast a few metres high often solves the problem without any pruning.
In every case, the best position is a compromise between a view of the sky, safe access for maintenance and a short cable route.
If you are not sure about the position, ask for a site survey before installation. A technician checks the spot with the app, recommends the mount you need and tells you in advance what work is required.
When to call a professional
If the position requires work on a roof or at height, a metal mount or a mast, or if the cable has to run through walls, it is worth handing the job over. The technician has the equipment to work safely and the experience to find the right spot the first time. CyberSpace Dynamics handles Starlink installations anywhere in Greece, from simple mounting to metal mounts, position optimisation and network setup.